Introduction
This is a simple "Hello World" example of Blynk. As a result, you will be able to control an LED on the ESP32 DevKit board from the web or mobile.
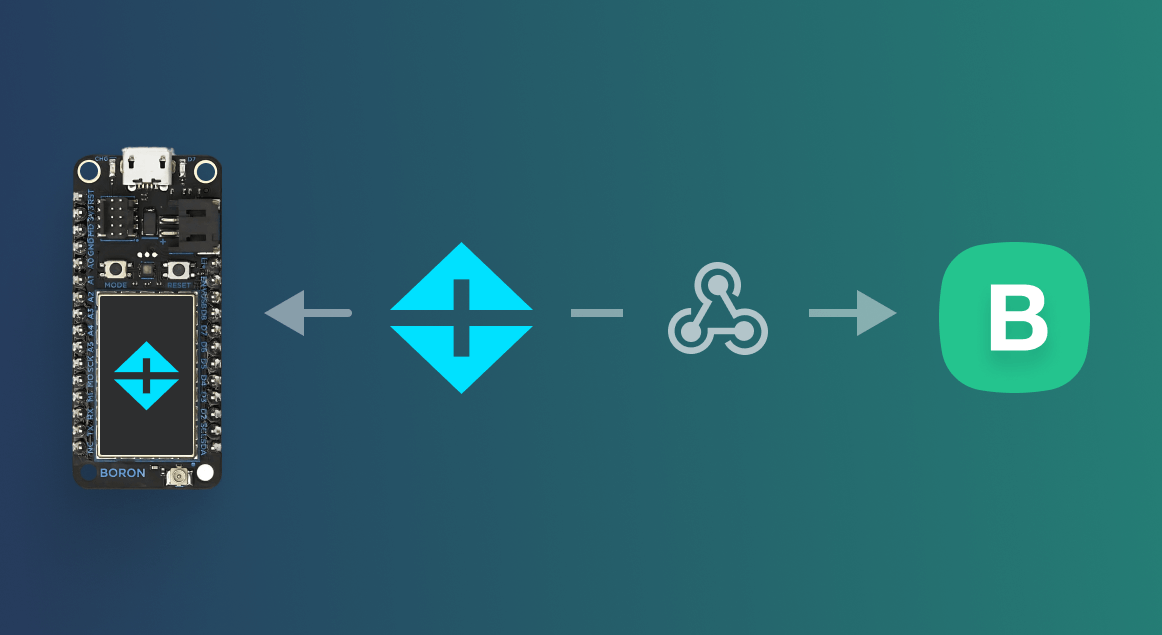
In this project, we leverage the Blynk.Edgent solution to demonstrate the ease with which the device can be activated using the Blynk mobile app. Additionally, once the device is connected, you'll be able to perform OTA firmware updates.
Components Used in This Project
You only need an ESP32 Devkit board. This example was made using the ESP-Wroom-32 dev board, but you can use pretty much any ESP32 dev board. No additional hardware or components are needed. Alternatively, you can wire up your own LED.
- Arduino IDE to upload a firmware
- ESP32 DEVKIT board.
- USB cable
1. Prepare Your Hardware Before Flashing
Connect your device to the computer using a USB cable.
Your board has to be connected with a data USB cable (charging-only cables will not work!)
Make sure the cable is fully inserted in the port on each end
2. Prepare Required Software
- Install Arduino IDE
- Install Blynk library
- Select the correct board and port in the Tools menu
- Install the ESP32 board support
- Create a new sketch
3. Prepare the Firmware and Upload It to Your Device
When using Blynk, you need to place TemplateID, AuthToken, and WiFi credentials in your sketch. We will provide you with the sketch where all of this info is already included. Just follow the next steps:
- Click on the Activate device action in Template Home tab (this tab should open automatically once you've pressed the Use Blueprint button)
- Download zip arhive
- Upload the sketch to your device: in Arduino IDE go to Sketch > Add File > Select sketch from the zip archive > Press Upload button
- Scan a QR code to start the device activation process in the app
- In the app click Start
- Connect to "Blynk ... " network
- Select a WiFi network your device will use and click Continue
- Your device is connected now! Click Finish to open your device. You also will see your device in the Blynk Console
Check the Troubleshooting section at the end of this tutorial if you have issues uploading the firmware
4. Try it out!
- Try clicking the switch on device dashboard. It should turn the LED on and off
- Open Blynk app for iOS or Android. You should see the device there. Tap the button to switch the LED on and off
Not working?
- Reboot the device and see if it helps
- Delete your device and try connecting it again considering the recommendations from the Troubleshooting section at the end of this tutorial
5. Project Breakdown
Every project you make on Blynk becomes a Template which you can use to create and manage similar devices. Every template consists of:
- Settings - general settings like which device and connectivity type. For this project it's ESP32 with WiFi
- Datastreams - channels for time-stamped data transmitted between the device and the cloud. In this project a value of 1 and 0 is transmitted through a Datastream called LED switch state.
- Web and mobile dashboards: GUI to send data from web and mobile apps through datastreams to your devices. Dashboards are made of widgets. In this simple project only switch (Web app) and Button (mobile app) are used. They both send 1 or 0 to LED switch state
Next Steps
Troubleshooting
- Make sure you have the latest Blynk Library installed
- Check that all the dependencies and configurations are correct
- Check your sketch for errors. Click the Verify button to compile your sketch without uploading it
- Check your board and port selections
- Check your connections. Your board needs to be connected with a data USB cable (charge-only cables will not work). Make sure the cable is fully inserted in the port on each end. Try a different USB cable, and avoid hubs and other adapters if possible. Remove connections to the board pins, especially the 0 (RX) and 1 (TX) digital pins.
- Check the Troubleshooting guide for WiFi provisioning
Related Links
Blynk Troubleshooting guide
Documentation